Introduction
The correct LM7 4 Pin to 1 Cable Alternator Wiring Diagram Chevy with four pins and a single cable operates as a prerequisite for Chevy vehicle maintenance. A proper understanding of correct wiring configuration proves essential for achieving optimal performance during all alternator wiring operations, including updating, exchanging, and rectifying faults. Detailed information about wiring the process, comprehensive instructions, and popular query responses are presented in this guide.
Understanding the LM7 Alternator Wiring System
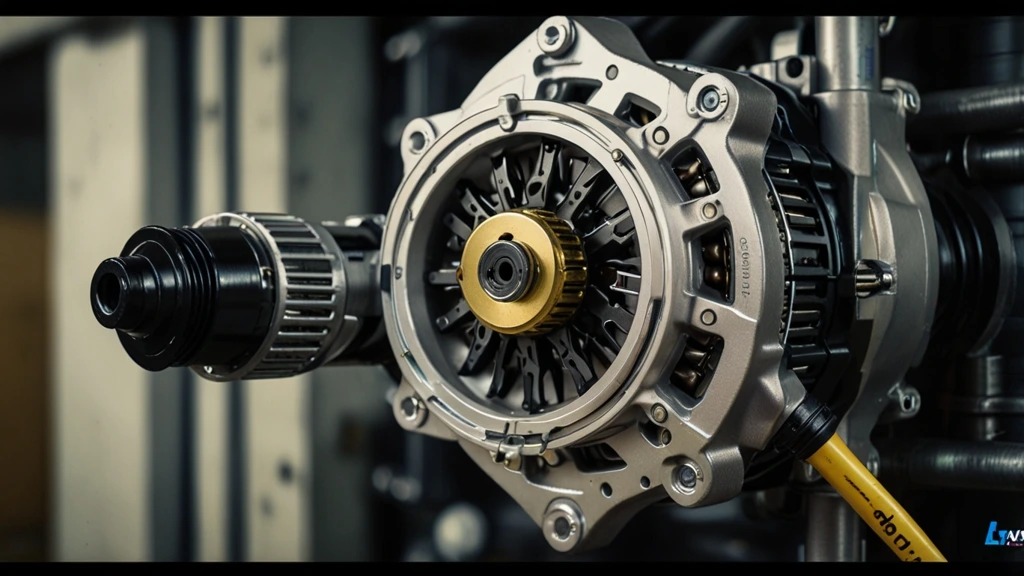
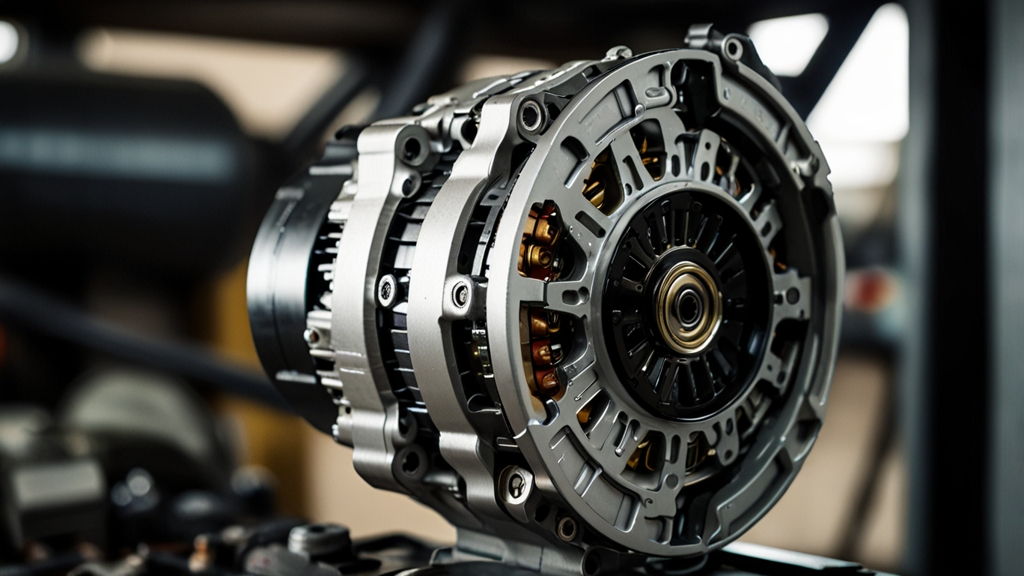
The LM7 4 Pin to 1 Cable Alternator Wiring Diagram Chevy vehicles. The device converts mechanical energy into electricity, powering car accessories and acting as a battery charger. The LM7 4-pin to 1 cable alternator wiring diagram Chevy makes it easier for professionals and DIY enthusiasts to establish their system correctly.
Components of LM7 Alternator Wiring
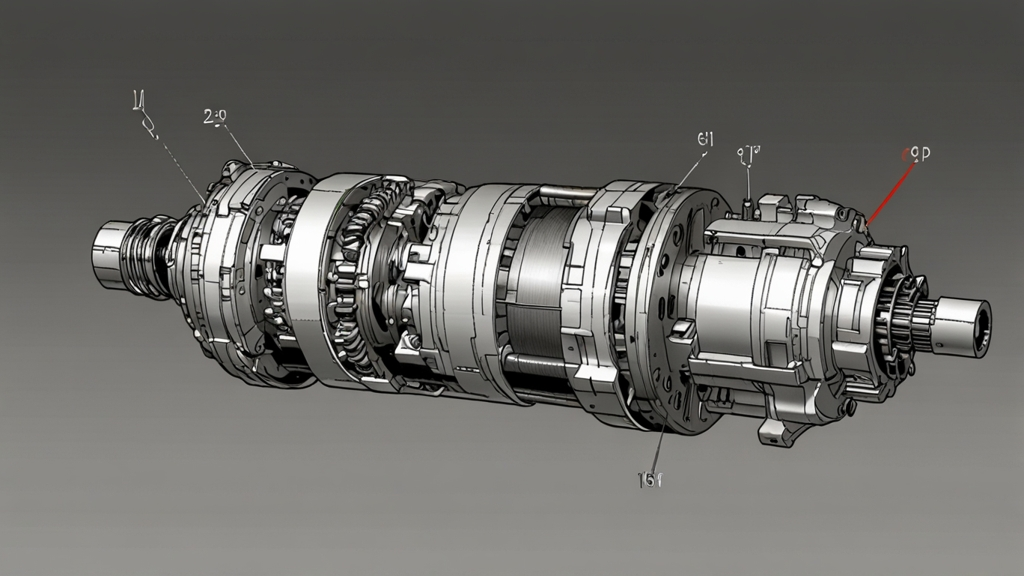
The significant features needed for a correct LM7 4 pin to 1 cable alternator wiring diagram Chevy setup include the alternator, the battery, the voltage regulator, and the wiring harness.
- Alternator: Generates electrical power.
- Battery: Stores electrical energy.
- Voltage Regulator: Controls the voltage output.
A Wiring Harness functions as an electrical connection that passes signals between the alternator and the vehicle’s overall system.
Why Convert a 4-Pin to a 1-Cable Wiring?
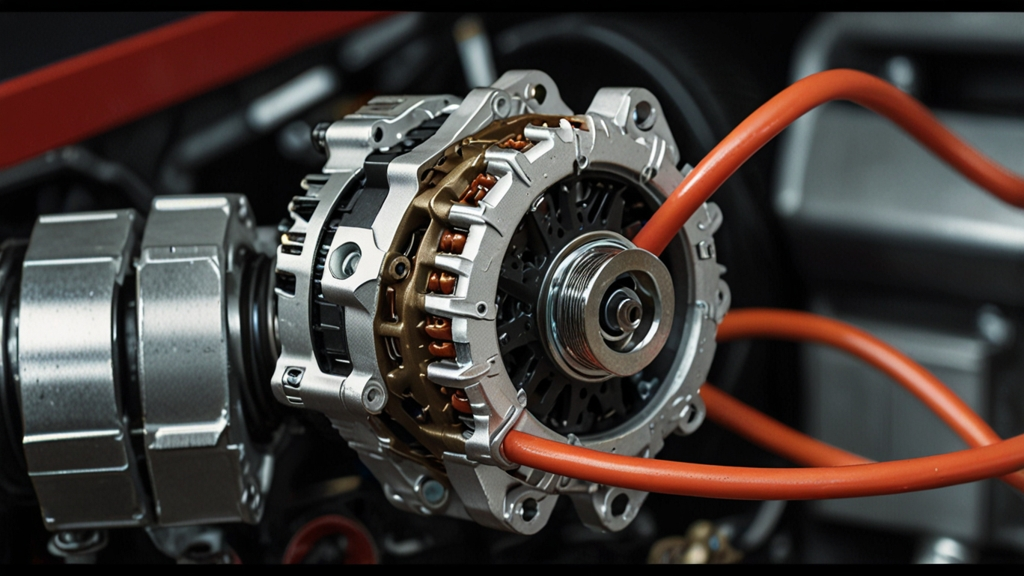
A 1-cable system that results from transforming a 4-pin alternator appeals to Chevy owners because it provides both ease of maintenance and simplicity. Using the LM7 4 Pin to 1 Cable Alternator Wiring Diagram Chevy reduces wiring complexity to, minimizes, and simsimplifiesy maintenance-by-step Wiring Process
For Proper Wiring Use the Following Instructions
Step 1: Gather Necessary Tools
- Multimeter
- Electrical tape
- Wire strippers
- Heat shrink tubing
- Soldering iron (optional)
Step 2: Identify the 4 Pins
The LM7 alternator has four major connection points, including the d, nd, S, and F terminals.
- L (Lamp) – Connects to the warning light on the dashboard.
- The wired interface provides power to your system when you activate the key.
- S (Sense) – Monitors system voltage.
- F (Field) – Controls alternator output.
Step 3: Convert to a 1-Cable System
To simplify the wiring:
- The L terminal requires a connection to the dashboard warning light.
- Join the terminals I and S, then connect them to a 12V electrical source that can be switched on and off.
- Disconnect the F terminal from the system unless you need it in your configuration.
Step 4: Secure the Wiring
- Apply heat shrink tubing along with electrical tape to safeguard connections.
- The wires should be routed in a manner that protects them from harm.
- Fasten free wires by using zip ties.
Step 5: Test the System
- Check whether the alternator begins charging by starting the car engine.
- A multimeter can check the output voltage, which should fall between 13.8V to 14.6V.
- The dashboard warning light should display proper functionality.
Troubleshooting Common Wiring Issues
Correctly implementing the LM7 4 pin to 1 cable alternator wiring diagram Chevy may not eliminate all possible problems. The following list presents typical alternator challenges alongside their remedies:
1. Battery Not Charging
- Check connections for loose or corroded terminals.
- The alternator belt must be adjusted to its correct tension.
2. Dashboard Warning Light Stays On
- Verify the L terminal connection.
- Investigate the charging circuit for blown fuses.
3. Alternator Overcharging
- The S terminal needs to establish a direct connection to the battery voltage sense point for proper function.
- A new voltage regulator needs installation when necessary.
Benefits of Using the LM7 4 Pin to 1 Cable Alternator Wiring Diagram Chevy
- This deployment makes The wiring easier to manage while simultaneously decreasing possible failure sites.
- Less connected components result in more reliable system performance.
- When maintenance problems occur, it becomes simpler to find the root causes.
Safety Tips When Wiring an LM7 4 Pin to 1 Cable Alternator Wiring Diagram Chevy
- The first step must include disconnecting the battery.
- The alternator should always be worked on when the engine power is turned off.
- Proper insulation materials should be used to stop the formation of short circuits.
- A thorough inspection of connections must take place before concluding the setup.
Conclusion
To achieve efficient LM7 4 Pin to 1 Cable Alternator Wiring Diagram Chevy vehicle, you need a full comprehension of the wiring diagram. Implementing the step-by-step wired process for issue troubleshooting alongside best practices will result in reliable electrical functions in your Chevy system. The correct alternator wiring provides stable power to keep your vehicle in operation without problems.
FAQs
1. What reason serves the L terminal in the LM7 4 Pin to 1 Cable Alternator Wiring Diagram Chevy?
The L terminal activates the dashboard warning light to observe the charging performance of the alternator.
2. Bypassing the S terminal within the LM7 alternator wiring is not recommended.
It is unwise to bypass the S terminal because this connection supports the voltage regulator for correct charging operations.
3. I will experience problems with my alternator if I put its wiring together improperly.
The improper wiring connection might result in battery power depletion, alternator damage, or dangerous electrical fires. The LM7 4 Pin to 1 Cable Alternator Wiring Diagram Chevy should be done precisely according to the specified LM7 alternator wiring diagram Chevy.
4. I need to confirm my alternator’s correct charging operation using what approach?
You should use a multimeter to measure the produced voltage output while inspecting the battery terminals. The alternator yields a proper charging operation, which generates between 13.8V and 14.6V while the engine operates.
5. Can this wiring solution be applied for alternators beyond the LM7?
The wiring diagram for theLM7 4 Pin to 1 Cable Alternator Wiring Diagram Chevy functions exclusively with the LM7 component, enabling equivalent setups for other effective alternators with adjusted settings.