Introduction
Are you eager to elevate your gaming or streaming experience by integrating your HyperX Cloud headset with a Fifine mixer? Combining a high-quality headset with a versatile audio mixer can transform your audio setup, delivering crystal-clear sound and seamless communication. This comprehensive guide explores how to use a HyperX headset splitter cable with a Fifine mixer, alongside a simpler direct connection method. Whether you’re a gamer, streamer, or content creator, these steps will help you achieve optimal audio performance.
Understanding the HyperX Cloud Headset
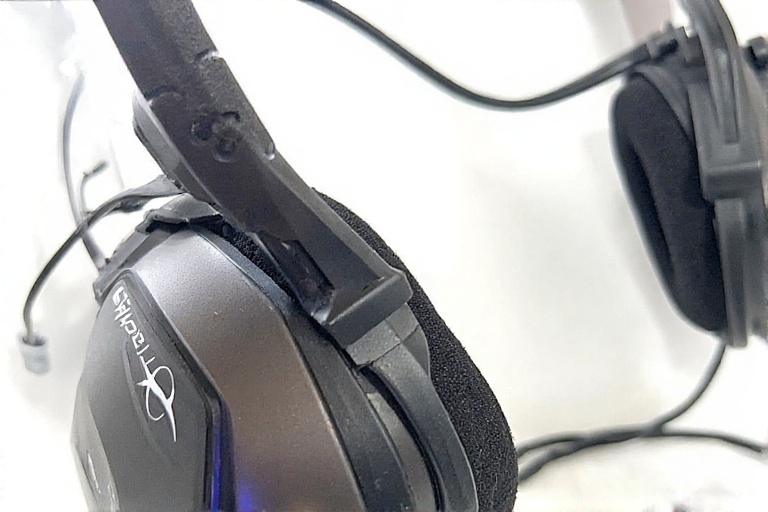
The HyperX Cloud headset series, including models like the Cloud II and Cloud Alpha, is celebrated for its exceptional comfort, immersive sound quality, and durable build. Most models feature a single 3.5mm jack that combines audio and microphone signals, adhering to the CTIA standard. This design simplifies connections to devices with a combined headset port, such as modern laptops, consoles, or audio mixers. Some HyperX headsets also include a USB dongle for enhanced audio control, but this guide focuses on the analog 3.5mm connection, as the splitter cable is typically used in this context.
Exploring the Fifine Mixer
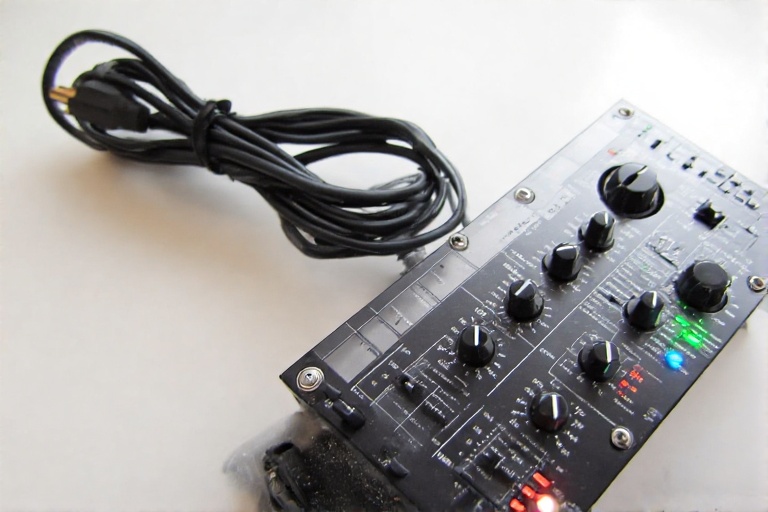
The Fifine mixer, particularly the AmpliGame SC3, is a budget-friendly yet powerful audio interface designed for gamers and streamers. It offers multiple connectivity options, including a dedicated headset port, XLR/6.35mm combo input, line-in, and line-out ports. The headset port is engineered to accept a single 3.5mm jack carrying both audio and microphone signals, making it ideal for headsets like the HyperX Cloud. Additionally, the mixer provides features like 50dB gain for microphones, 48V phantom power for XLR condenser mics, and latency-free monitoring for 32-ohm headphones, ensuring versatility for various audio setups.
Why Use a Splitter Cable?
The HyperX headset splitter cable is a Y-shaped adapter that splits a single 3.5mm TRRS (Tip, Ring, Ring, Sleeve) connector into two separate 3.5mm TRS connectors: one for audio output (headphones) and one for microphone input. This is particularly useful when connecting to devices with separate audio and microphone ports, such as older PCs or certain audio interfaces. While the Fifine mixer’s headset port typically eliminates the need for a splitter, you might opt to use it for specific reasons, such as routing the microphone signal through the mixer’s mic preamp for enhanced processing or connecting the audio output to a different device for monitoring.
Method 1: Direct Connection to the Fifine Mixer
The most straightforward approach to connect your HyperX Cloud headset to a Fifine mixer is by using the direct connection method. This leverages the mixer’s headset port, designed to handle both audio and microphone signals from a single 3.5mm jack. Here’s how to do it:
- Locate the Headset Port: Find the headset port on your Fifine mixer, typically labeled “Headset” or marked with a headphone icon. This port supports a 3.5mm TRRS connector, compatible with the HyperX Cloud headset.
- Connect the Headset: Plug the 3.5mm jack of your HyperX Cloud headset directly into the mixer’s headset port. Ensure the connection is secure to avoid audio interruptions.
- Configure Mixer Settings: Set the Fifine mixer to recognize the headset input. On the AmpliGame SC3, ensure the headset channel is active and not muted. You may also need to adjust your computer’s audio settings to select the mixer as the default input and output device.
- Test the Setup: Play audio through your computer or another source to verify sound output through the headset. Speak into the microphone and check the mixer’s input levels or use recording software to confirm microphone functionality.
- Fine-Tune Audio: Adjust the mixer’s volume faders and gain controls to achieve the desired audio balance. Enable mic monitoring if you want to hear your voice in real-time, ensuring the monitor button is active (indicated by a solid white light on the SC3).
This method is efficient and requires minimal equipment, making it ideal for most users seeking a plug-and-play solution.
Method 2: Using the HyperX Headset Splitter Cable
If you prefer to separate the audio and microphone signals or your setup demands it, the HyperX headset splitter cable offers a viable alternative. This method allows you to connect the audio and microphone to separate inputs on the Fifine mixer, providing greater control over each signal. Follow these steps:
- Attach the Headset to the Splitter: Connect the HyperX Cloud headset’s 3.5mm jack to the single male connector of the splitter cable. The splitter will divide the signal into two 3.5mm female connectors: one for audio (typically green) and one for microphone (typically pink).
- Identify the Outputs: Confirm which connector is for audio and which is for the microphone. Most HyperX splitter cables label these clearly, with green for audio and pink for microphone, adhering to standard color coding.
- Connect to the Mixer: Plug the audio connector into the Fifine mixer’s “Line In” port, which accepts stereo audio input. Connect the microphone connector to the “Mic” input, designed for microphone signals. Ensure both connections are secure.
- Adjust Mixer Settings: Configure the mixer to process the line-in for audio playback and the mic input for microphone signals. On the AmpliGame SC3, adjust the respective faders for the line-in and mic channels. You may need to tweak the gain settings to avoid distortion, especially for the microphone input.
- Test and Optimize: Play audio to check if it’s routed correctly through the headset. Speak into the microphone and monitor the input levels on the mixer or in your recording software. Adjust volume and gain settings to balance audio output and microphone sensitivity.
- Enable Monitoring (Optional): If you want to hear your microphone input in real-time, activate the mic monitoring feature on the mixer. Ensure the mic channel is not muted and the fader is not set to zero.
This method offers flexibility for advanced audio setups, such as applying different effects to the microphone or routing audio to external devices. However, it requires careful configuration to ensure both signals are processed correctly.
Troubleshooting Common Issues
Connecting a headset to a mixer can sometimes present challenges. Here are common issues and solutions based on user experiences:
- Microphone Not Detected: If the microphone doesn’t work, ensure the splitter cable is correctly connected and the mixer’s mic input is active. Test the headset without the splitter to confirm functionality. If using the direct connection, verify that the headset port is set as the input source in your computer’s audio settings.
- Static or Noise: Static can result from a faulty splitter cable or loose connections. Check all cable connections and try a different splitter if possible. Ensure the mixer’s gain levels are not too high, as this can introduce noise.
- No Audio Output: Confirm that the audio output is routed to the correct port (headset or line-in). Check your computer’s audio settings to ensure the Fifine mixer is selected as the output device.
- Low Microphone Volume: Adjust the mic gain on the mixer. If using the splitter, ensure the microphone connector is plugged into the mic input, not the line-in, as the latter may not provide sufficient gain.
If issues persist, consult the user manuals for your HyperX headset and Fifine mixer or contact Fifine support at web@fifine.cc for personalized assistance.
Compatibility Considerations
Most HyperX Cloud headsets, such as the Cloud II, Cloud Alpha, and Cloud Core, use a standard 3.5mm TRRS jack, making them compatible with the Fifine mixer’s headset port. However, some models may include a USB dongle for enhanced audio control, which is not necessary for this setup. The Fifine AmpliGame SC3 supports 32-ohm headphones for latency-free monitoring, and HyperX Cloud headsets typically fall within this impedance range, ensuring compatibility. Always verify your headset’s specifications to confirm it uses a 3.5mm TRRS connector and check the mixer’s manual for any specific requirements.
Optimizing Audio Performance
Take into account the following advice to get the best audio quality:
- Use High-Quality Cables: When using the splitter method, ensure the splitter cable is of high quality to minimize signal loss and maintain audio clarity. Poor-quality cables can introduce noise or reduce sound quality.
- Adjust Gain and Volume: Start with low gain settings on the mixer to prevent clipping or distortion. Gradually increase the gain until you achieve clear audio without unwanted noise.
- Enable Noise Suppression: If your mixer or recording software supports noise suppression or acoustic echo cancellation, enable these features to reduce background noise and improve microphone clarity.
- Test with Software: Use software like OBS or Audacity to monitor input levels and fine-tune settings. This is especially useful for streamers who need precise control over audio balance.
- Regular Maintenance: Keep your headset and mixer ports clean to avoid connectivity issues. Dust or debris can cause intermittent audio problems.
When to Use the Splitter vs. Direct Connection
The direct connection is recommended for most users due to its simplicity and reliability. It requires no additional cables and leverages the mixer’s headset port for seamless integration. The splitter cable is best suited for advanced setups where you need to:
- Apply specific audio processing to the microphone signal using the mixer’s mic preamp.
- Route the audio output to a different device, such as external speakers or a secondary mixer.
- Use the mixer’s separate inputs for more granular control over audio and microphone levels.
If you don’t need these advanced features, the direct connection is likely the better choice, as it reduces setup complexity and potential points of failure.
Comparison of Connection Methods
| Method | Pros | Cons |
| Direct Connection | Simple, no additional cables needed, plug-and-play, reliable | Limited control over separate audio and mic signals |
| Splitter Cable | Allows separate processing of audio and mic, flexible for advanced setups | More complex setup, requires additional cables, potential for connectivity issues |
FAQs
Can I use the HyperX Cloud headset with the Fifine mixer without a splitter?
Yes, you can connect the headset directly to the mixer’s headset port using its single 3.5mm jack. This is the simplest and most reliable method for most users.
Why would I use a splitter cable with the Fifine mixer?
A splitter cable allows you to separate the audio and microphone signals, enabling you to route them to different inputs on the mixer. This is useful for applying specific effects to the microphone or connecting the audio to another device.
Is the Fifine mixer compatible with all HyperX Cloud headsets?
Most HyperX Cloud headsets with a 3.5mm TRRS jack are compatible with the Fifine mixer’s headset port. However, verify your headset’s specifications to ensure compatibility.
How can I tell if my connection is working?
Test by playing audio through your computer or another source and speaking into the microphone. You should hear sound through the headset and see microphone levels on the mixer or in recording software like OBS.
What should I do if I hear static or no audio?
Check all cable connections for security and ensure you’re using the correct ports. Adjust gain levels to avoid distortion, and test with a different cable if possible. Consult the mixer’s manual or contact Fifine support for further assistance.
Conclusion
Integrating your HyperX Cloud headset with a Fifine mixer can significantly enhance your gaming, streaming, or content creation experience. The direct connection method offers a simple, reliable way to enjoy high-quality audio and clear microphone performance. Alternatively, using the HyperX headset splitter cable provides flexibility for advanced setups, allowing separate control over audio and microphone signals. By following the steps outlined in this guide and optimizing your mixer settings, you can achieve professional-grade audio tailored to your needs.
Ready to take your audio setup to the next level? Connect your HyperX Cloud headset to your Fifine mixer today and experience the difference. Share this guide with fellow gamers and streamers, and stay tuned for more audio setup tips and tutorials!