Introduction
In the vibrant world of Roblox game development, decals are essential for adding visual flair and detail to your creations. Whether you’re designing a poster, a textured wall, or a custom object, decals help bring your game to life. However, many developers encounter a frustrating issue: why does my decal go backwards in Roblox Studio? This problem, where decals appear flipped, rotated, or backwards, can disrupt the aesthetics of your game. In this comprehensive guide, we’ll explore the reasons behind this issue, provide practical solutions, and offer tips to prevent it from happening again. Whether you’re a beginner or a seasoned developer, this article will help you master decals in Roblox Studio.
Understanding Decals in Roblox Studio
Decals are images that you can apply to the surfaces of parts or unions in Roblox Studio. They are used to add textures, patterns, or designs, enhancing the visual appeal of your game environment. Unlike textures, which can repeat or tile across a surface, decals stretch to fit the area of the part’s face. This makes them ideal for single-image designs like signs, logos, or artwork. However, one common issue developers face is why does my decal go backwards in Roblox Studio, where the decal appears mirrored or rotated incorrectly.
Decals are applied to one of six faces of a part: Top, Bottom, Front, Back, Left, or Right. The orientation of the decal depends on both the image itself and the part’s orientation in the game world. Understanding this relationship is key to resolving orientation issues.
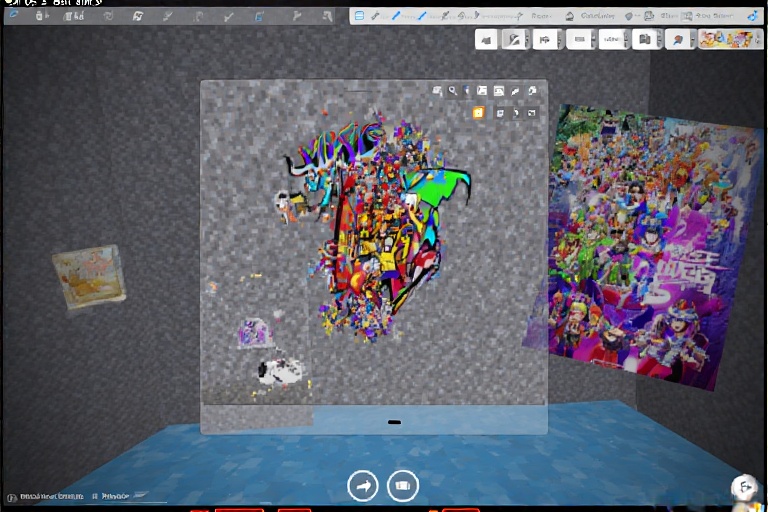
Why Does My Decal Go Backwards in Roblox Studio?
Several factors can cause a decal to appear backwards or rotated incorrectly in Roblox Studio. Here are the primary reasons:
1. Image Orientation During Upload
When you upload an image as a decal to the Roblox Creator Hub, its orientation is fixed. If the image is upside down, sideways, or mirrored in your image editing software, it will appear that way when applied to a part. This is one of the most common reasons for why does my decal go backwards in Roblox Studio. For example, if you upload a text-based decal that’s inverted, the text will appear backwards in the game.
2. Part Orientation
The orientation of the part to which the decal is applied plays a significant role. If the part is rotated in Roblox Studio, the decal will follow that rotation. For instance, if the part’s Front face is oriented downward, a decal applied to it might appear upside down, leading to the question, why does my decal go backwards in Roblox Studio?
3. Incorrect Face Selection
Decals are applied to specific faces of a part. If you apply a decal to the Back face instead of the Front face, it might appear mirrored or rotated incorrectly from your intended perspective. This misalignment often contributes to the issue of why does my decal go backwards in Roblox Studio.
4. Complex Shapes and Mesh Parts
For parts with non-standard shapes, such as cylinders or wedges, decals may not align as expected. The way Roblox Studio maps decals onto these surfaces can cause stretching, rotation, or flipping, especially on curved surfaces like cylinders. This is another reason developers ask, why does my decal go backwards in Roblox Studio?
5. Rendering and Display Issues
In some cases, rendering quirks in Roblox Studio can make decals appear incorrectly, especially when viewed from certain angles or distances. For example, decals on transparent parts or layered decals might show unexpected behavior, contributing to the perception that a decal is backwards.
How to Fix Backwards Decals in Roblox Studio
Now that we’ve identified the causes, let’s explore practical solutions to fix why does my decal go backwards in Roblox Studio. These methods are designed to be straightforward and effective, even for beginners.
Method 1: Re-upload the Decal with Correct Orientation
The most reliable way to fix a backwards decal is to correct the image’s orientation and re-upload it. Follow these steps:
- Open the Image: Use an image editing tool like Photoshop, GIMP, or Paint.NET to open the decal image.
- Rotate or Flip: Adjust the image to the correct orientation (e.g., rotate 90 degrees, flip horizontally, or flip vertically).
- Save the Image: Save the edited image in a compatible format (PNG or JPEG, under 1024×1024 pixels).
- Upload to Roblox: Go to the Roblox Creator Hub, navigate to the Create tab, select Decals, and upload the corrected image.
- Replace in Studio: In Roblox Studio, update the decal’s Texture property with the new decal ID.
This method ensures the decal appears as intended without altering other aspects of your game.
Method 2: Rotate the Part
If re-uploading isn’t an option (e.g., you don’t have access to the original image), you can rotate the part to correct the decal’s orientation. Here’s how:
- Select the Part: In Roblox Studio, click on the part with the decal in the Explorer window.
- Use Rotation Tools: Use the Rotate tool (found in the Home or Model tab) to adjust the part’s orientation until the decal faces the correct direction.
- Check Alignment: Test the part from different camera angles to ensure the decal looks right.
Note that rotating the part might affect other elements in your game, so use this method carefully.
Method 3: Use Plugins
For more flexibility, you can use plugins to manipulate decals without re-uploading. One popular plugin is Stravant – MaterialFlip, which allows you to flip or rotate decals directly in Roblox Studio. Here’s how to use it:
- Install the Plugin: Search for “Stravant – MaterialFlip” in the Roblox Plugin Library and install it.
- Select the Decal: In Roblox Studio, select the decal in the Explorer window.
- Apply the Plugin: Use the plugin’s interface to flip or rotate the decal as needed.
This method is particularly useful for quick adjustments and can save time when working with multiple decals.
Method 4: Use SurfaceGui for More Control
If you need precise control over a decal’s appearance, consider using a SurfaceGui with an ImageLabel instead of a traditional decal. SurfaceGui allows you to adjust the position, rotation, and scaling of an image on a part’s surface. Here’s a basic guide:
- Add a SurfaceGui: In Roblox Studio, add a SurfaceGui to the part (right-click the part, select Insert Object, then SurfaceGui).
- Add an ImageLabel: Add an ImageLabel as a child of the SurfaceGui.
- Set the Image: Paste the decal ID into the ImageLabel’s Image property.
- Adjust Rotation: Use the Rotation property of the ImageLabel to rotate the image as needed.
This method is more advanced but offers greater flexibility, especially for dynamic or animated decals.
Preventing Future Decal Issues
To avoid repeatedly asking why does my decal go backwards in Roblox Studio, consider these preventive measures:
- Verify Image Orientation: Before uploading, open the image in an editor to confirm it’s oriented correctly. This simple step can prevent most orientation issues.
- Use the Orientation Indicator: In Roblox Studio, right-click a part and select “Show Orientation Indicator” to display a blue circle (indicating the Front face) and a green arrow (indicating the Top face). This helps you apply decals to the correct face.
- Test from Multiple Angles: After applying a decal, view it from different camera angles and distances to ensure it looks correct in all scenarios.
- Consider Part Shapes: For complex shapes like cylinders, test how decals behave and adjust the image or part as needed.
- Use Consistent Image Sizes: Ensure your images are within Roblox’s size limits (max 1024×1024 pixels) and maintain a consistent aspect ratio to avoid stretching.
Troubleshooting Common Decal Problems
Here are some additional issues related to why does my decal go backwards in Roblox Studio and how to address them:
| Issue | Possible Cause | Solution |
| Decal appears sideways | Image uploaded with incorrect orientation | Rotate the image in an editor and re-upload |
| Decal is mirrored | Applied to the wrong face (e.g., Back instead of Front) | Check the Face property in the Properties window |
| Decal looks stretched on a cylinder | Surface mapping on complex shapes | Re-upload a pre-rotated image or use a mesh |
| Decal doesn’t show in-game | Moderation or upload issue | Ensure the decal is approved and owned by you or your group |
For more detailed troubleshooting, visit the Roblox Developer Forum or check the Roblox Creator Hub Documentation.
Conclusion
Decals are a powerful tool for enhancing your Roblox games, but issues like why does my decal go backwards in Roblox Studio can be frustrating. By understanding the causes—such as incorrect image orientation, part rotation, or face selection—you can take targeted steps to fix the problem. Re-uploading corrected images, rotating parts, using plugins like Stravant – MaterialFlip, or leveraging SurfaceGui are all effective solutions. Additionally, preventive measures like checking image orientation and using the Orientation Indicator can save you time and effort.
With these strategies, you’ll be able to create polished, professional-looking games without worrying about backwards decals. Keep experimenting, and don’t hesitate to explore community resources like the Roblox Developer Forum or Reddit r/robloxgamedev for additional tips and support. Happy building!
